
DIY Painting Kits
Complete house painting kits for easy, professional-quality results at home in Pune and Mumbai.


Expert Guidance Available
On-site demonstrations and quick hands-on tutorial by expert painters to ensure successful DIY painting projects.
Comprehensive Painting Checklist
Step-by-step guidance and troubleshooting tips for your painting project success.
Quality Materials Included
All materials tested and endorsed by expert painters for best results.
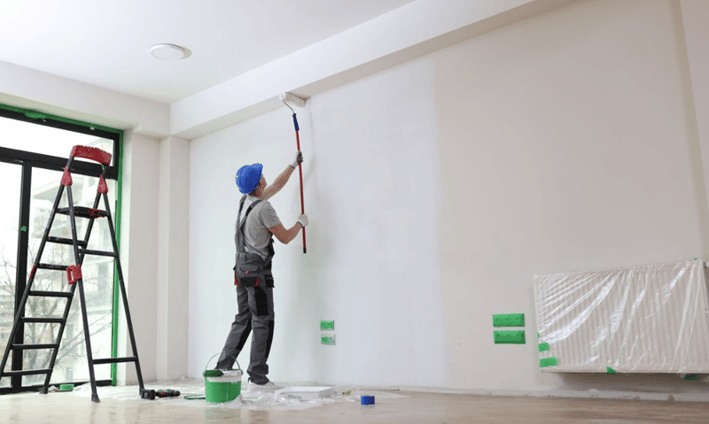
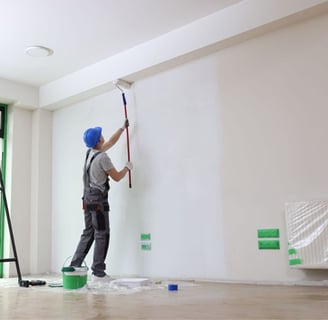
Instructions for wall painting
Painting your house can be a fun and rewarding DIY project if you break it down into manageable steps. Here’s a detailed, step-by-step guide for beginners on how to paint your house, from start to finish
1. Prepare the Room and Protect Surfaces
Clear the area: Remove furniture or move it to the center of the room. Cover it with drop cloths or plastic sheets.
Cover the floors: Lay down painter’s tarps or plastic sheets on the floors to catch any splashes of paint.
Mask off edges: Use painter’s masking tape along baseboards, windows, doorframes, and any other areas you don't want to paint. Apply the tape neatly to ensure clean lines.
2. Clean the Walls
Dust and dirt removal: Clean the walls using a sponge or cloth with a mild soap solution. This removes dirt, grease, or grime that can affect paint adhesion.
Rinse and dry: After cleaning, wipe the walls down with clean water and allow them to dry completely.
3. Inspect and Repair the Walls
Fill holes or cracks: Use a spackling compound or wall putty to fill any nail holes, dents, or cracks in the walls. Apply it with a putty knife and smooth it out. Let it dry.
Sand smooth: Once the putty is dry, lightly sand the patched areas with fine-grit sandpaper to make the surface even and smooth.
4. Sand the Entire Wall (if necessary)
Smooth rough spots: If your walls have imperfections or if they are glossy (like in kitchens or bathrooms), lightly sand them with fine-grit sandpaper. This helps the paint to adhere better.
Dust off the sanding residue: Use a clean, damp cloth to wipe away dust from sanding. This ensures no particles interfere with your paint job.
5. Prime the Walls
Choose the right primer: Select a primer suitable for your wall type (e.g., drywall primer, stain-blocking primer, etc.). Priming helps create a uniform surface for paint and improves adhesion.
Apply primer: Use a roller for large areas and a brush for corners and edges. Apply a thin, even coat of primer across the wall. Allow it to dry completely (usually 1–2 hours).
6. Inspect the Walls After Primer
Check for imperfections: After the primer dries, inspect the walls closely for any areas that need more filling or sanding. If necessary, patch again and sand lightly.
Reapply primer: If you applied additional filler or made repairs, you may need to apply a second coat of primer in those areas.
7. Apply the First Coat of Paint
Choose your paint: Select oil-bound distemper for quick drying matte finish that lasts 3-4 years, select economy emulsion for long lasting matt finish of up to 8 years or select premium emulsion for soft sheen that lasts up to 10 years
Cut in edges: With a paintbrush, carefully “cut in” around the edges of the room—baseboards, trim, corners, and near the masking tape.
Use a roller: Use a roller for the larger areas of the wall, working in small sections. Roll the paint on in a "W" or "M" pattern to distribute the paint evenly. Avoid overloading the roller.
Let it dry: Allow the first coat to dry completely, which may take 2-4 hours, depending on the paint type and humidity.
8. Sand Lightly Between Coats
Fine sanding: Once the first coat is dry, lightly sand the surface with fine-grit sandpaper (around 220 grit). This smooths out any imperfections and helps the next coat adhere better.
Clean off dust: Wipe down the walls with a damp cloth to remove any dust from sanding.
9. Apply the Second Coat of Paint
Apply a second coat: Using the same technique as the first coat, apply a second layer of paint. This coat ensures better coverage and color depth.
Allow drying time: Let the second coat dry fully.
10. Finish Coat (Optional) and Touch-Ups
Final inspection: Once the second coat has dried, check the walls for any missed spots or areas that need additional touch-ups.
Final touch-ups: Use a small brush to fix any areas that may have been overlooked.
Clean up: Carefully remove the masking tape while the paint is still slightly tacky to ensure crisp lines. Clean your brushes and rollers according to the paint manufacturer's instructions.
Extra Tips:
Ventilation: Ensure the room is well-ventilated while painting to allow proper drying and minimize exposure to fumes.Multiple colors: If you're painting multiple colors, remember to mask off areas between colors and allow sufficient drying time between coats.Drying time: Be patient with the drying times between coats to achieve a professional-looking finish.
REMEMBER TO
Take regular breaks
Stay hydrated
Keep the painting area well ventilated
Have fun!